Posts

Last Weeks + April Update.

Image
I've projected tertiary details on the legs and finished up sculpting the whole character and moved onto Retopoing. The body and head and most of the armor didn't need retopoing as the Lowest subdivison was clean and has good topology. I wasn't aiming to optimize the character's polycount heavily as I wanted to spend more time delving into making it look good. I wanted to maintain the silhouette of the ropes and bandages interwinding rather than baking them into a plane. I used the lowest subdivision level of the face and stood the cleft lip area to accommodate the extreme shape. the same goes with the cancerous skin tags on the ear and mouth area. I split the head and the body into 2 UVs as I wanted the tertiary detail to bake down in the texture and not limit the texel density on the body and have blurry noise baked onto it. The main reason for that was that I wanted to be able to get closeup renders of the model. I've baked...
Week 9: Sculpting Tertiary Details and Hard Surface

Image
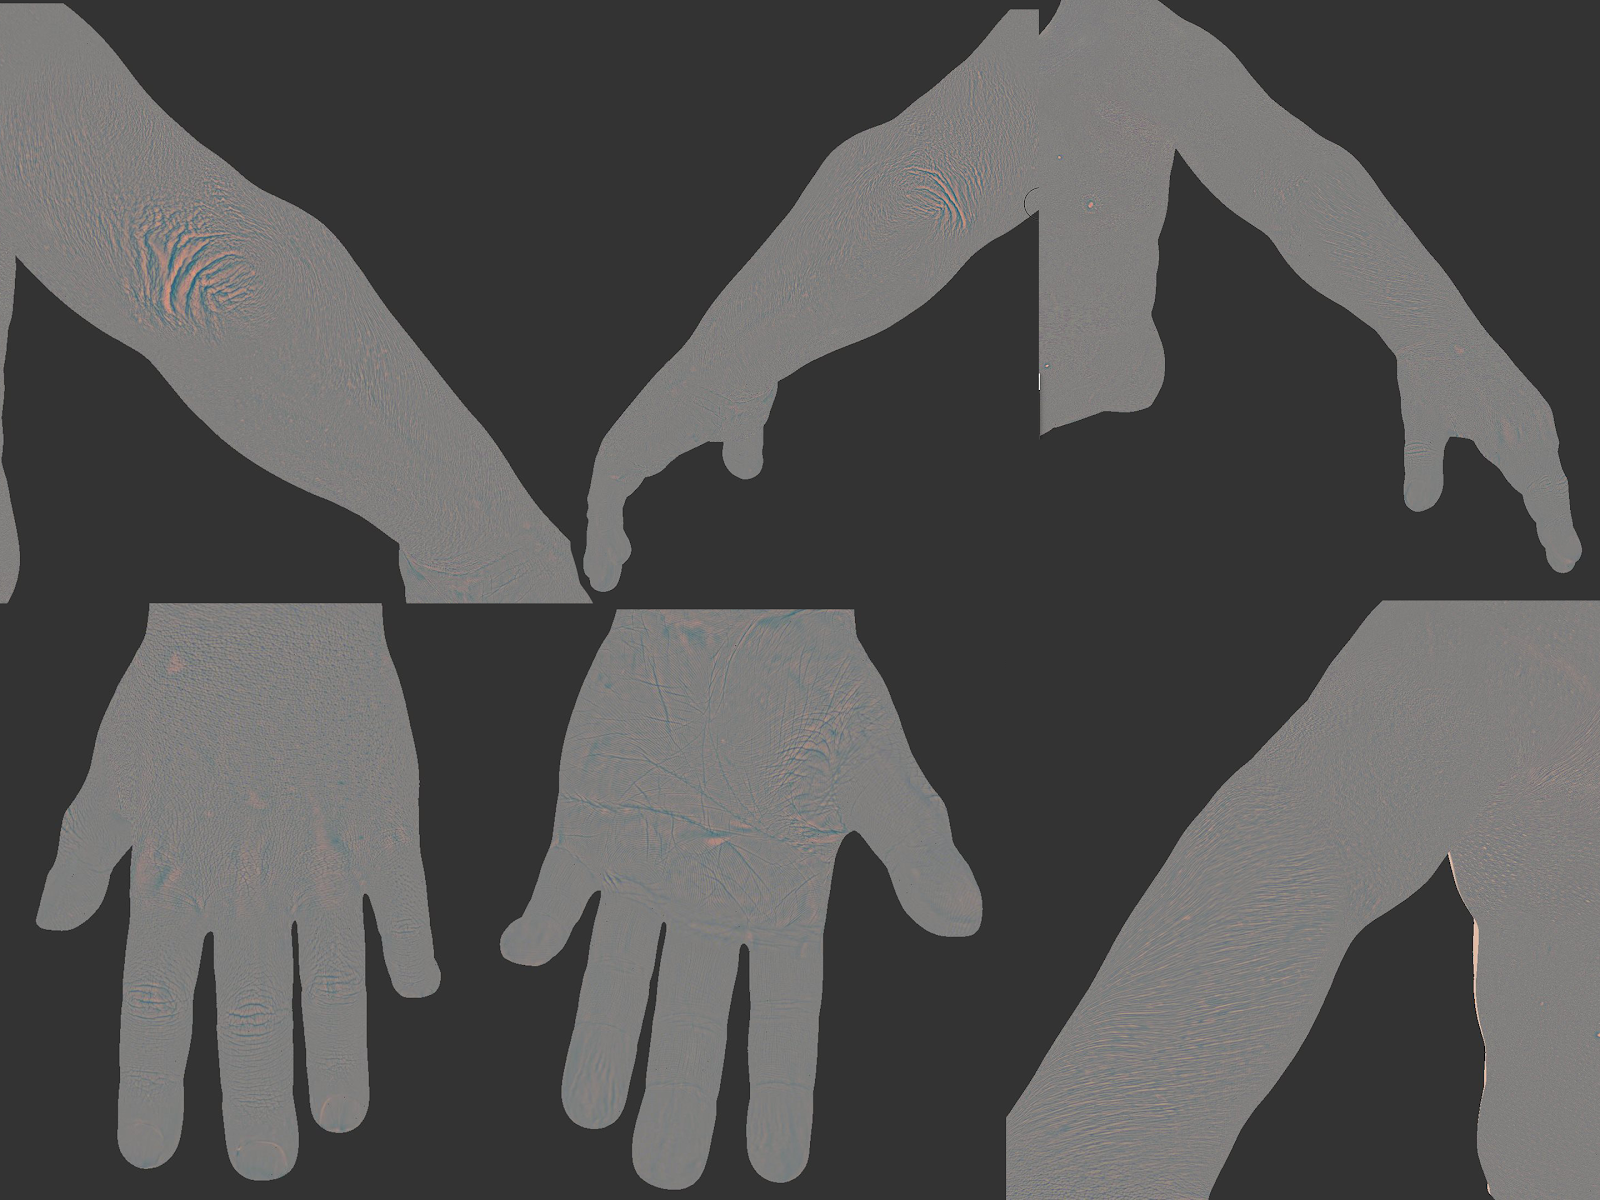
Continuing last weeks torso projection, I projected the tertiary maps onto the arms and hands in Mudbox, then exported the texture maps and imported them into Zbrush and adjusted their intensity. I turned off the layers of the tertiary projection, and set a the displacement as a texture without having it affecting the surface deformation to enable me to add volume and crease areas of fatty tissue and loose skin of the hand, making it easy to visualize how it would look when enabling the tertiary layers alongside the volume fatty layer. 1. Primary+Secondary forms layer 2. Fatty wrinkle layer using displacement map as a texture 3. Tertiary Layer (Wrinkle layer = off) 4. Tertiary Layer (Wrinkle layer = On) On the Hard surface side of things, I transferred the shoulder chainmail plates into 3DS MAX using GoZ in Zbrush, I created holes for the loops to connect them together, I cut most of them in the same software to have a relatively clean topology that I can retrieve ...

Week 8: Sculpting Tertiary Details on the face

Image
In this week, I wanted to pish the details of the face for the bust render used for the brochure image of Expotees. I used Texturing XYZ displacement maps to project details onto the face in Mudbox. I then split the RGB exported map to 3 different Grayscale maps (Secondary, Tertiary, Micro) to set up in Zbrush as separate layers. I created the arrow's fletching using an IMM brush and moved them to give it a frayed look. I projected skin textures onto the back of the character and used Mudbox to project textures onto the rest of the body.

Week 7: Sculpting Secondary Forms for the Face

Image
In this week, I focused on adjusting the asymmetry of the face after consulting with my supervisor, I drooped the right eye of the character and made his brows more pronounced, as well as sagging the side of his face similar to partial facial paralysis due to a stroke. I creased, pinched and cleaned up the creases after going up in subdivisions, loosened the connective tissue at the jawline to make a smoother transition to the neck. I sculpted an arrow injury that portrays a broadhead arrowhead going through the eyebrow without puncturing the skin on the end, forcing the giant to break the wooden end and ignore the arrowhead by leaving it to get crusty and infected. In addition, I sculpted an infected cleft lip and sculpted the chipped teeth and plague on top of them, I also created a small crusty tumorous growth on the cartilage of the ear. The main reason of me focusing on the bust of the character is the deadline for the brochure image print for Expotees, I want t...

Week 6: Sculpting Secondary Forms #3

Image
After receiving feedback about the design of the chainmail and plates, I was advised to add plates to the shoulder pad chainmail as it would break up the monotony of the chainmail on its own. I cleaned up the apron buckles and adjusted the clothing so they would not clip through. I cut the body in order to subdivide it to larger meshes without having to worry about having dense areas where they're not needed. I made a bandage wrap on the neck to hide the cut seam. I started laying in the creasing of the face based on the reference I collected and anatomy books I read, I sculpted them in split layers in to allow for flexibility of the intensity of crease patches on the face. I projected Texturing XYZ displacement maps in Zbrush's Spotlight as a test, I auto UVed the head in Zbrush's UV Master to see how it would look like when taken through the pipeline in a quick test. I used the skin smart material which I wouldn't exclusively use in the final product but j...

Week 5: Sculpting Secondary Forms #2

Image
I finished up wrapping the character with ropes and bandages, then created a tileable chainmail nanomesh based on the hurstwic chainmail shape, the defining feature of hurstwic chainmail is that its made of wound around a wooden form to create a coil of iron wire, it is then cut along the length of the coil, finally sealed using a rivet. I created a metal plate for the chest armor in order to use nanomesh to place the plates in a conforming manner, I UV unwrapped it in order to achieve a pattern that projects the plates as if they were created from a single engraved piece of metal that was cut to shape. I bent the plates using bend deformers in Zbrush and cut them after laying the UVs in 3DS MAX. As for the leather clothing, I used Marvelous Designer to drape 3 layers of skirts that I can cut to shape after exporting from MD. In addition, I simulated the apron on top of the already simulated skirt. I used morph targets on the belt in order to create the bunching of t...

Week 4: Sculpting Secondary Forms #1

Image
I intend to design the character with a cleft palate/lip. As advised by my supervisor, I opened the character's mouth and set it up in a layer after baking the previous week's information onto the mesh. I used a free set of teeth from the internet as a base for my deformed gums and teeth. I separated the teeth from the gums and deformed the gums and teeth to represent a cleft palate. I adjusted some of the teeth as they were clipping into each other when the jaw was closed I added more fat to the neck and loosened the lower lip as if the lips were forced outwards by the teeth, in addition, I adjusted the chest forms. I created an IMM brush that would help me draw ropes across the model. I created 2 alphas in Zbrush that would be helpful to achieve high-frequency detail either in sculpt, or during the texturing process. The wraps on the arms and legs were created by masking areas on the body and using Group edge loops to smooth the...