Week 9: Sculpting Tertiary Details and Hard Surface

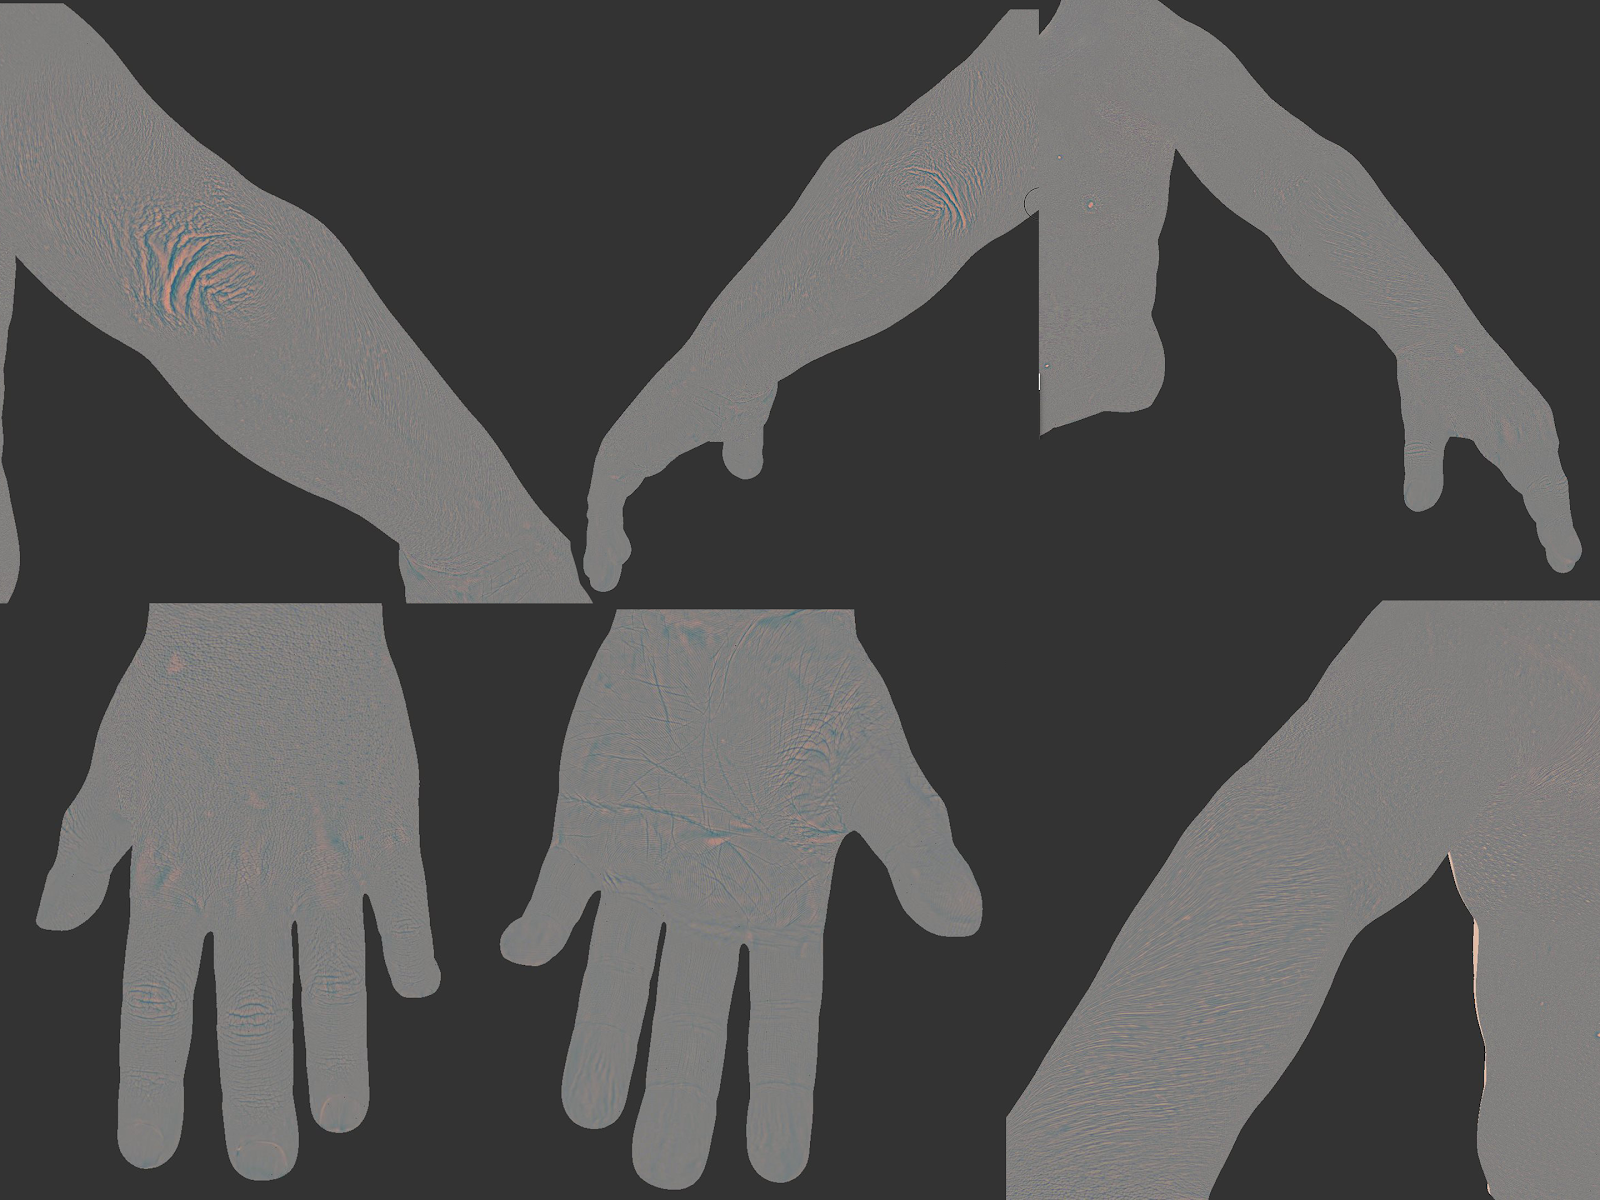
Continuing last weeks torso projection, I projected the tertiary maps onto the arms and hands in Mudbox, then exported the texture maps and imported them into Zbrush and adjusted their intensity. I turned off the layers of the tertiary projection, and set a the displacement as a texture without having it affecting the surface deformation to enable me to add volume and crease areas of fatty tissue and loose skin of the hand, making it easy to visualize how it would look when enabling the tertiary layers alongside the volume fatty layer. 1. Primary+Secondary forms layer 2. Fatty wrinkle layer using displacement map as a texture 3. Tertiary Layer (Wrinkle layer = off) 4. Tertiary Layer (Wrinkle layer = On) On the Hard surface side of things, I transferred the shoulder chainmail plates into 3DS MAX using GoZ in Zbrush, I created holes for the loops to connect them together, I cut most of them in the same software to have a relatively clean topology that I can retrieve ...


